
How to Install a Sliding Door Track - Step-By-Step Guide
A sliding door can transform a room by adding sleek, space-saving elegance. But the real secret to a smooth, reliable glide is a perfectly installed track system. Whether you're a DIY enthusiast or a homeowner keen on tackling a project, this guide will walk you through how to install a sliding door track with precision and ease.
Why Quality Installation Matters
A properly installed sliding door track not only ensures a seamless, silent glide but also guarantees safety and long-term durability. Avoiding misalignment or poor fixing is crucial for reliable operation and to prevent premature wear.
Essential Tools & Materials
Before you get started, gather these essentials:
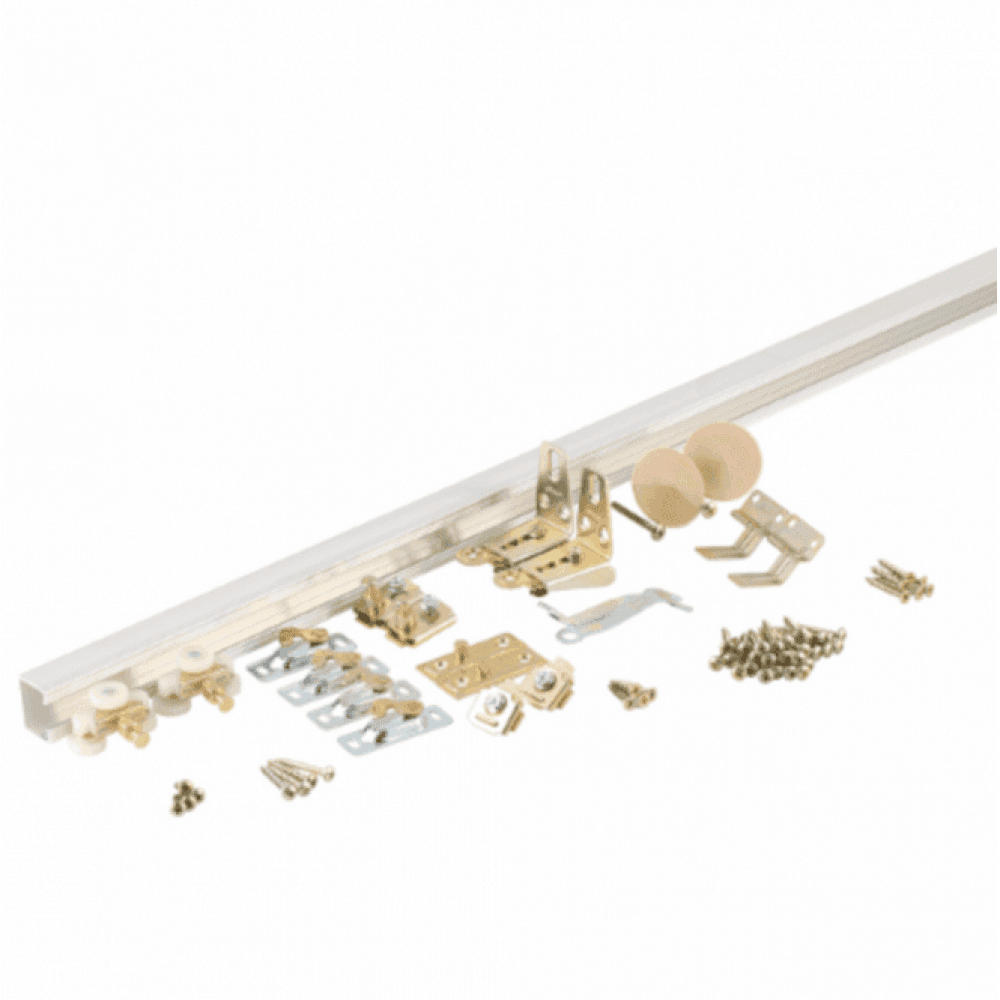
- Sliding door kit (track, rollers, door panel + guides)
- Drill
- Spirit level
- Tape measure
- Pencil
- Suitable fixings (screws, wall plugs + anchors)
-
Saw (for trimming the track, if needed)
1. Preparing the Opening
Begin by carefully measuring the width and height of your opening. Ensure there’s enough space for the door to slide fully in both directions. Clear any obstructions and make sure the surfaces (wall and floor) are level and plumb - uneven surfaces can affect the door’s smooth movement.
2. Installing the Top Track
Mark a level line above your opening where the track will be fixed. Use a spirit level for absolute accuracy.
- Pre-drill pilot holes along the line.
- If your track is too long, carefully trim it to the correct length with a saw.
-
Secure the track with the appropriate fixings, ensuring consistent spacing for stability.
Tips for surface types:
- Plasterboard: Use robust wall anchors if not drilling directly into a solid brick surface.
- Brick: Opt for masonry drill bits and wall plugs to ensure a strong, lasting fix.
3. Fixing the Door Rollers to the Panel
Follow the manufacturer’s instructions to attach the rollers to your door panel. Double-check the security of these fixings, as they’ll support the entire weight of the door.
4. Hanging the Door
Carefully lift the door panel and slot it into the top track. For heavier doors, it’s best to have a second person help with this lift to avoid accidents and ensure a smooth fit.
5. Levelling & Adjustments
Once the door is hanging in place:
- Slide it back and forth to test the movement.
- Adjust the roller height using the screws provided. Aim for plumb alignment (the door should be perfectly vertical).
-
Check for a consistent gap along the top and bottom edges, ensuring the door glides smoothly without scraping the floor.
 Matt Black 1.98m Face Mounted Sliding Barn Door
Final Touches for Professional Finish
With your sliding door track installed and the door smoothly rolling, take a final pass to:
- Tighten any fixings that might have loosened during the adjustments.
- Check for even gaps along the top and sides of the door.
- Ensure guides or bottom tracks (if applicable) are fitted snugly to avoid swaying or rattling.
Conclusion
Installing a sliding door track doesn’t have to be daunting. By following these step-by-step instructions, you can enjoy a professionally finished look and flawless operation that’ll last for years.
If you’re looking for quality sliding door kits and accessories, head to Leader Trade and explore our collection today.
